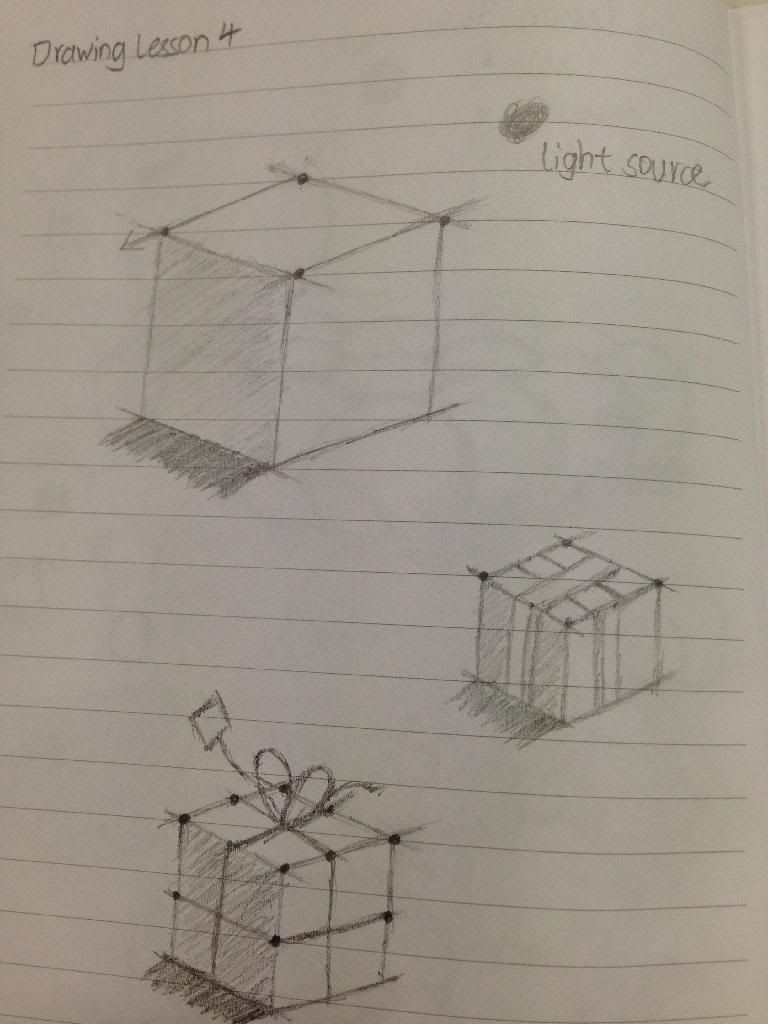
Ok I’m moving on to drawing cubes in this lesson. Contrary to my belief, i realized drawing cubes is actually harder than drawing spheres. Let’s get started!
- Starting off, draw two dots across from each other. these 2 dots will determine the diagonal length of the cube.
- Place finger between the dots using the opposite hand you are drawing with. Then draw a dot above your finger. These 2 dots should be closer to each other.
- Shoot the first line across.
- Draw the next line connecting the left dot with the bottom one.
- A third line to connect the bottom dot with right dot.
- Complete the foreshortened square. Foreshortening means to distort an object to create the illusion that part of it is closer to your eye.
- Next, draw the sides of the cube with two vertical lines. Use the sides of your sketchbook page as a visual reference to keep your drawings from tilting.
- Using the two side lines as reference lines, draw the middle line a bit longer and lower. Using lines you have already drawn to establish angles and positions for your next lines is a crucial technique in creating 3D picture.
- Using the top right edge of the top foreshortened square as a reference line. draw the bottom right side of the cube.
- Then draw the bottom left side of the cube by referring to the angle of the line above it.
- Draw the light source on the top right hand side of the cube and start shading the other sides. Remember nooks and crannies?
So here’s my result:

Try practicing more with drawing cube like objects. Gift boxes, packages, shoe boxes etc. Once ready, let’s go on to Lesson 5 - Hollow Cubes.
