
Learning drawing has a lot to do with controlling the lighting in the picture. This lesson teaches how to identify the light source and where to shade objects in your drawing. We will draw a 3D sphere.
Before we start drawing, there are 9 fundamental laws of drawing to create the illusion of depth. As follows:
- Foreshortening: Distort an object to create the illusion that one part of it is closer to your eye.
- Placement: Place an object lower on the surface of a picture to make it appear closer to your eye.
- Size: Draw an object larger to make it appear closer to your eye.
- Overlapping: Draw an object in front of another object to create the visual illusion that it is closer to your eye.
- Shading: Draw darkness on an object opposite the positioned light source to creat the illusion of depth.
- Shadow: Draw darkness on the ground next to the object, opposite the positioned light source, to create the illusion of depth.
- Contour lines: Draw curving lines wrapping around the shape of a round object to give it volume and depth.
- Horizon line: Draw a horizontal reference line to create the illusion that objects in the picture are varying distances from your eye.
- Density: Create the illusion of distance by drawing objects lighter and with less detail.
Don’t be overwhelmed by these laws. All of these will be covered in the following lessons.
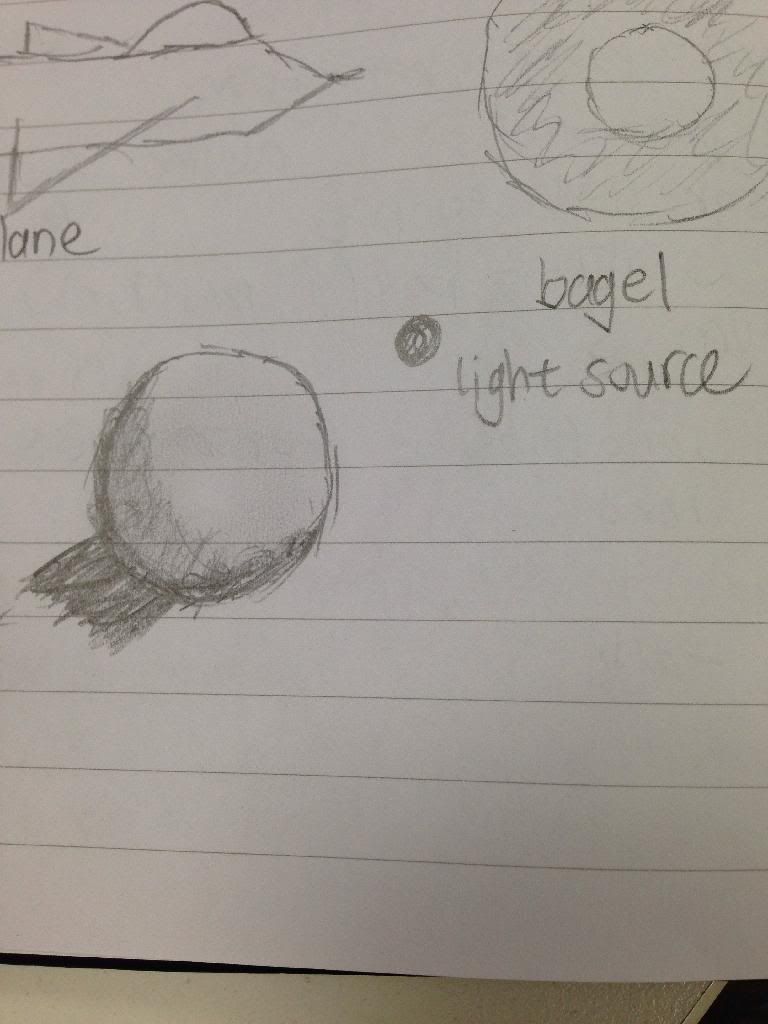
- Draw a circle. If it’s too difficult, use a coffee mug or coin to trace
- Determine the light source - direction where the light is coming from. Reasonably, the opposite side of the circle would cast a shadow.
- Now cast a shadow on your sphere opposite your light source position. Remember 2 points, position your light source, and cast a shadow on the ground next to the object and opposite the light source.
- Scribble shading ON the circle opposite the light source. The furthest place from the light source should be darkest and gets lighter as we go toward the light source.
- Use your finger to smudge-blend your shading to give it an even shade.
Here’s my drawing. Still ugly, but looking abit better than pretest drawings i guess?
BONUS CHALLENGE
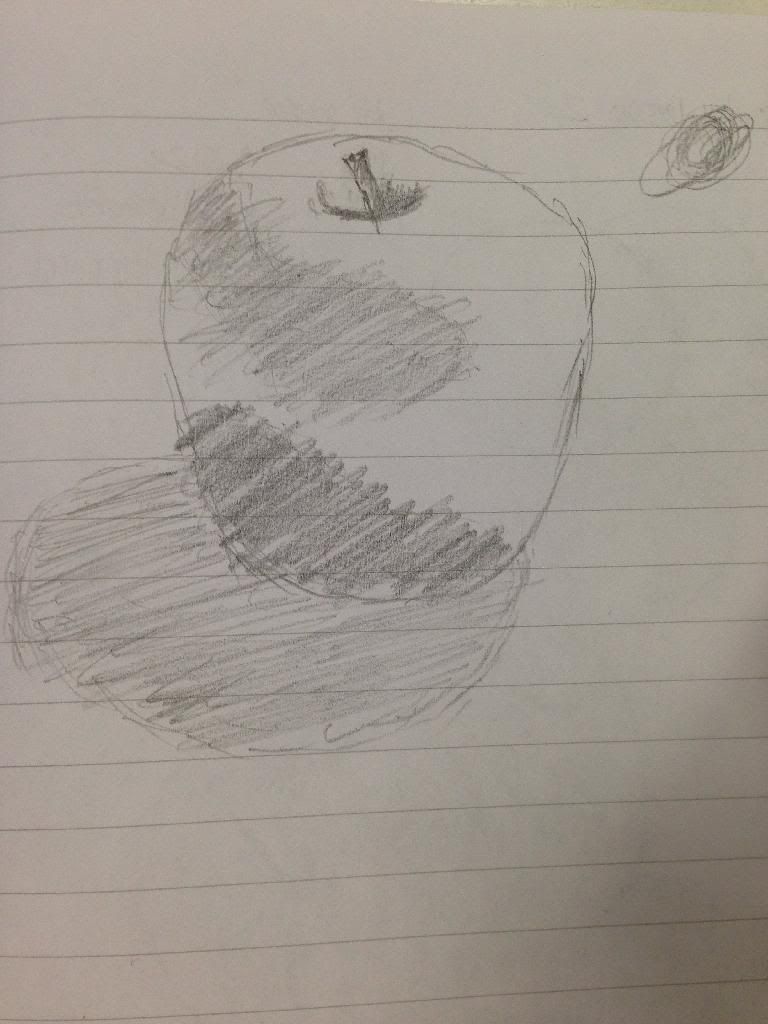
Let’s draw an apple in 3D form. Take a look at the photograph of an apple with the light source and on the right:

Here’s my result:
Improving already? Move on to Lesson 2!