
We are going to build on our sphere drawing in lesson 1 by drawing more than 1 spheres. In particular, we are going to overlap them. Still remember the skills to draw a 3D sphere? Let’s do this again.
- Draw a circle.
- Draw a second sphere behind the first one. As you draw the second sphere, make it a bit smaller than the first sphere, a bit higher up on the paper, and tucked behind the first sphere. With this, we are using
size,placementandoverlappinglaws. Recap the 9 fundamental laws here. - Determine where your imaginary light source will be positioned. You will need to do this so you can get a consistent shading in order to appear three-dimensional.
- Cast a shadow in the direction opposite the light.
- To separate objects in your drawing, draw a dark defining shadow in between the two spheres(called a nook and cranny shadow). This will help identify the two objects. Nook and cranny shadows are always applied under and behind near objects.
- Hold your pencil loosely and scribble the first layer of shading on both spheres. Shade the surfaces opposite your light source. Try to make shading lines below all lined up away from the sun.
- Make a second darker, more focused shading pass over the spheres. Detail in the very dark edges, and let your scribbles get lighter and lighter as you move slowly toward your established light source. The spot on the sphere adjacent to the light source should be the brightest spot.
- Using your finger, carefully blend the shading from dark to light, trying to keep the hit spot crisp white.
BONUS CHALLENGE
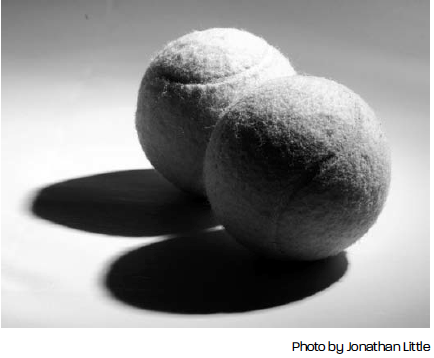
Let’s try placing two tennis balls on the table in front of you, overlapping. Make sure to notice the object’s placement, shadows, and shading.
Here’s my result:
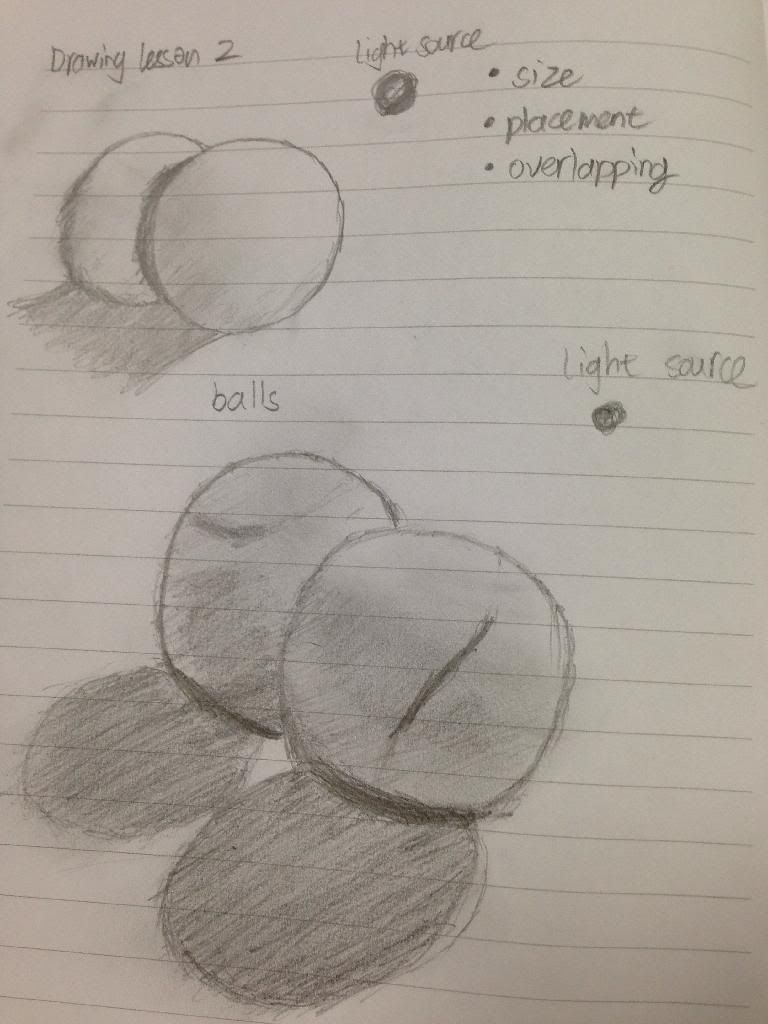
Try practicing more on make the shadows look natural. Ready up for Lesson 3!