
Feeling comfortable with drawing 3D spheres yet? This lesson we are going to draw a lot more overlapping spheres, to get a feel of how things look like when they are grouped together.
By the way, listening to music while drawing could be a real pleasure :)
- Again, we start with drawing a circle.
- Draw another circle behind the first. Push it up a bit ( placement ). Tuck it behind the first ( overlapping ). Draw it a bit smaller ( size ).
- Draw the next circle over to the right behind the first one, push it up, tuck it behind and draw it a bit smaller than the first circle.
- Onward into the third row of spheres. The row is definitely getting smaller and much higher on the page as you move away from the front sphere. When you draw objects smaller to create the illusion that they are deeper in your picture, you are using the size law. Size is a powerful tool to create depth.
- Fill in the far gap with a peeking over-the-top sphere. Remember that small equals deeper.This will create a 3D illusion, even before adding shadows, shading and blendin!
- Complete the third row with the end sphere smaller, higher, and behind. Much of 3D is in repition and practice.
- Draw the fourth and fifth row of spheres. Pushing each row deeper into your picture with size, placement, and overlapping.
- Draw rows six and seven receding into the depths of your sketch page. Size really kicks in on these distant rows.
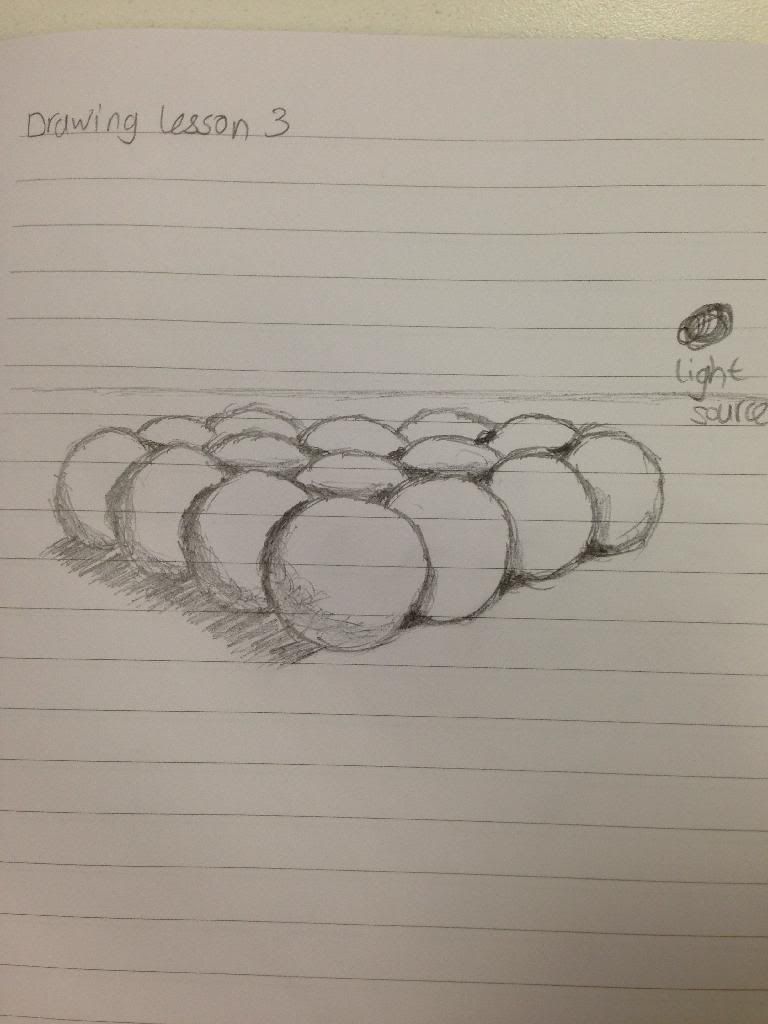
- Finally, we determine the position of our light source. For consistency, we will keep the light positioned in the top right. Go ahead and cast shadows off to the left, on the ground, and opposite your light source position.
- Next, draw the horizontal background reference line, the horizon line. The horizon line will help you create the illusion of depth in your drawing.
- Still remember Nook and Cranny? Push hard on your pencil and darken the edges and little spots between each ball.
- Continue your shading process with a first pass over all the objects, scribbling the shading lightly over all opposite edges away from the light source.
- Make some more scribble shading passes. Blend the shading with your finger. Carefully smudge the dark shaded areas up toward the hot spots, lighter and lighter as you go.
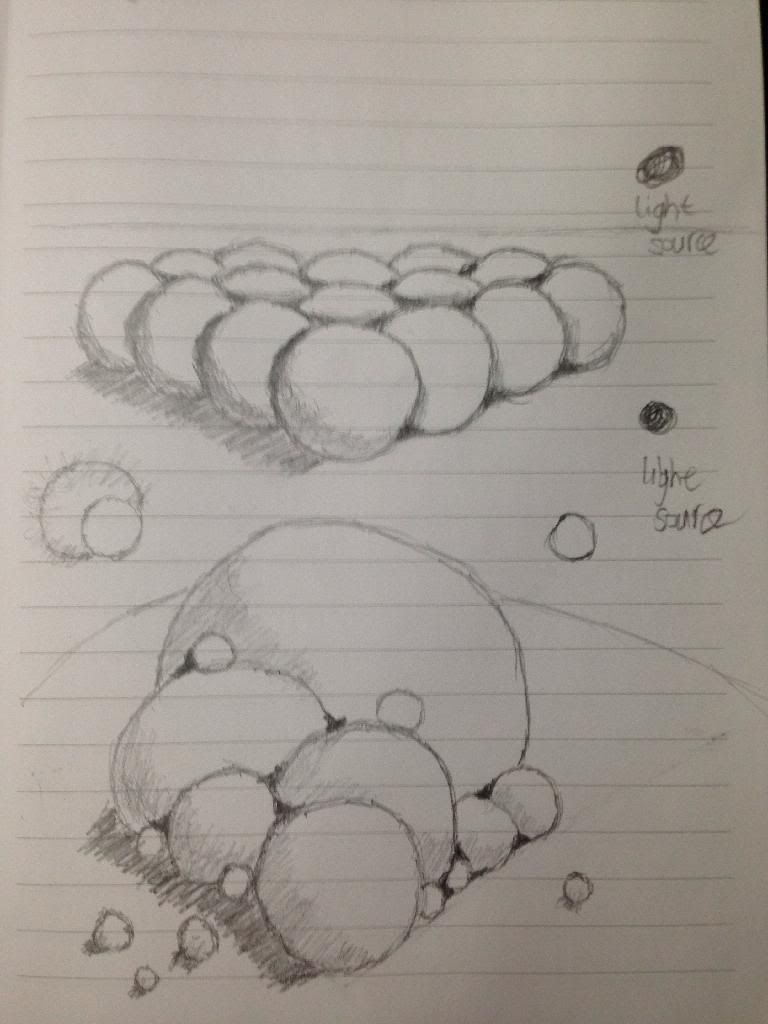
Looking at your masterpiece already? Here’s mine:
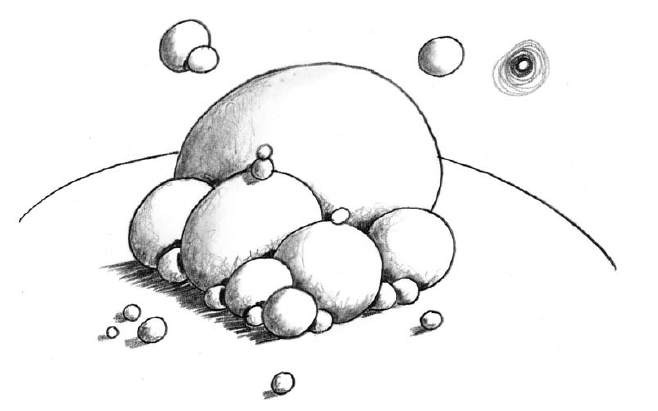
BONUS CHALLENGE
Take a look at this drawing. The largest sphere is the farthest away. The smallest sphere is the closest. Following the guides above, try to recreate this drawing yourself, and have fun!
Here’s my result:
That’s so much for spheres! Next lesson i will go on to drawing cubes.